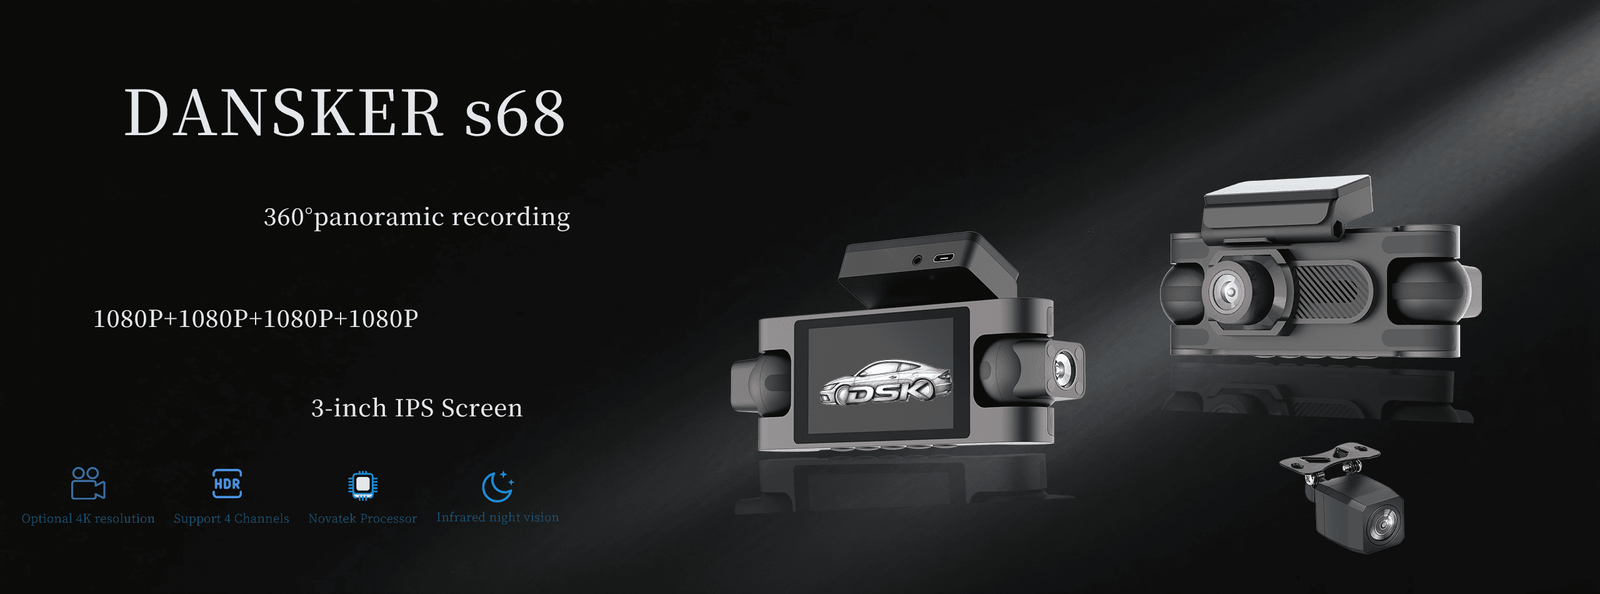
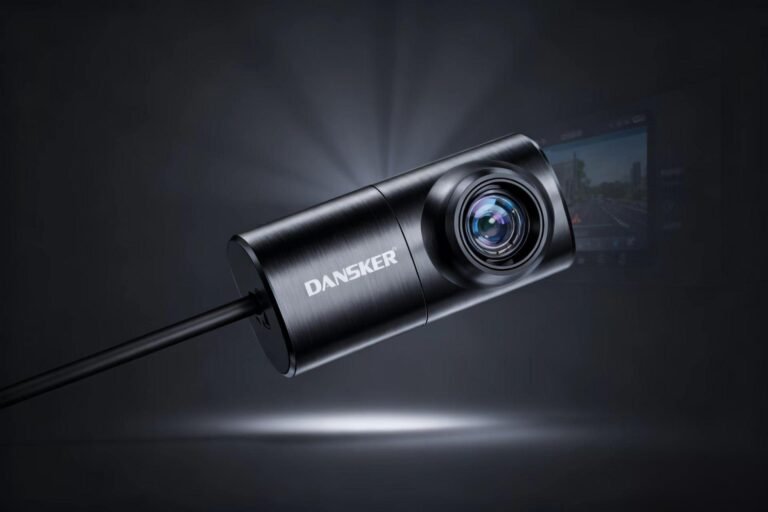
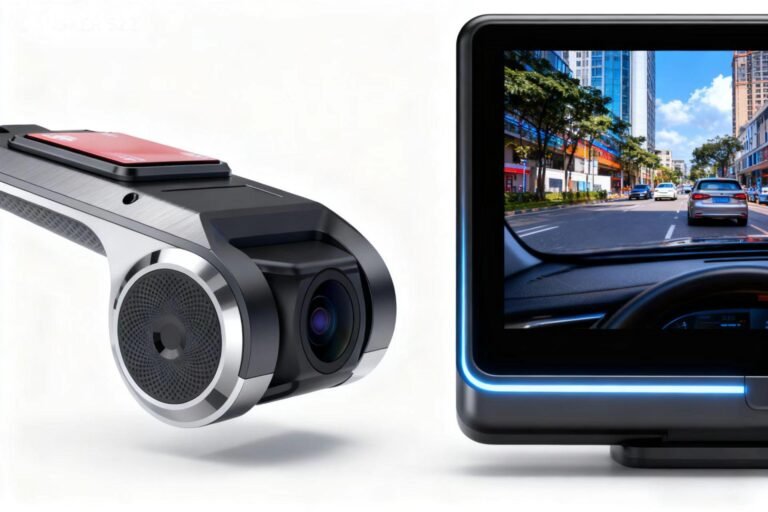
Installing a dash cam is one of the best upgrades you can make for your vehicle’s safety and your peace of mind. But an improper installation can lead to unreliable performance, obstructed views, or messy cables. This guide will walk you through the simple, clean, and correct way to install your new DANSKER dash cam.
Step 1: Gather Your Tools & Unbox
Before you begin, make sure you have everything you need. The great thing about DANSKER dash cams is that everything required for a standard installation is right in the box:
- The DANSKER Dash Cam
- Windshield Mount (usually electrostatic or adhesive)
- Long USB Power Cable
- 12V USB Car Charger
- Pry Tool (for hiding cables)
- User Manual
Step 2: Find the Perfect Position
The goal is to capture the best view of the road without obstructing your own. The ideal spot is typically on the passenger side of the rearview mirror.
- Clean the Area: Use a glass cleaner to wipe the section of the windshield where you’ll place the mount. This ensures a strong, lasting hold.
- Attach the Mount: Peel the protective film from the electrostatic sticker and press it firmly onto the clean glass. Then, attach the adhesive mount to the sticker and slide the DANSKER dash cam onto the mount. This two-step process makes removal clean and easy.
- Check the View: Power on the dash cam and connect it to the DANSKER app on your phone. Look at the live feed to ensure the camera has a clear, level view of the road ahead, without capturing too much of the hood or the sky.
Step 3: Route and Hide the Power Cable
This is the secret to a professional-looking installation. We’ll hide the cable along the car’s trim.
- Headliner: Gently use the included pry tool to push the cable into the gap between the windshield and the headliner, routing it towards the passenger side A-pillar.
- A-Pillar: Continue tucking the cable into the weather stripping or trim that runs down the A-pillar to the dashboard.
- Glove Box: Route the cable under or around the glove box, securing it with clips if needed to keep it away from any moving parts.
- Center Console: Finally, run the cable to your car’s 12V power outlet.
Step 4: Power Up and Final Setup
- Insert the Memory Card: Make sure you’re using a recommended high-endurance microSD card.
- Connect Power: Plug the USB cable into the car charger and plug the charger into the 12V outlet.
- Start Your Car: The DANSKER dash cam should power on automatically and begin recording.
- Format Card: Use the DANSKER app to format the memory card. This ensures optimal performance and is recommended for the first use.
That’s it! With a DANSKER dash cam, a clean and reliable installation takes just a few minutes, giving you an ever-watchful, silent witness for every journey.


